
River table project?
Also called epoxy table or river table, you can design your own personalized work of art, either by yourself or with the help of a cabinetmaker! There are a multitude of epoxy products, resin colors and materials! However, this project is not for everyone! It is better to be skilled with your hands and at least have a talent for working with wood!
Wood selection and preparation!
Wood selection and preparation! A river table can be made with several types of wood, but make sure it is very dry and non-porous. After sanding and free of dust, your board must be completely flat and cleaned of its bark. Afterwards, apply a primer coat of resin with a brush in the cracks to avoid bubbles forming and prepare the wood to receive the resin while it hardens.
Preparing to pour the epoxy resin!
For the casting, of course your surface must be very airtight. Clamps to tighten your frame because the resin is fluid. Cover it with a glossy PVC adhesive so that the resin does not stick to the frame. The casting frame should be caulked with silicone as much as possible. Hold the wood in place so that it does not move during casting. Now you are ready!
Customize your river table with your resin mix!
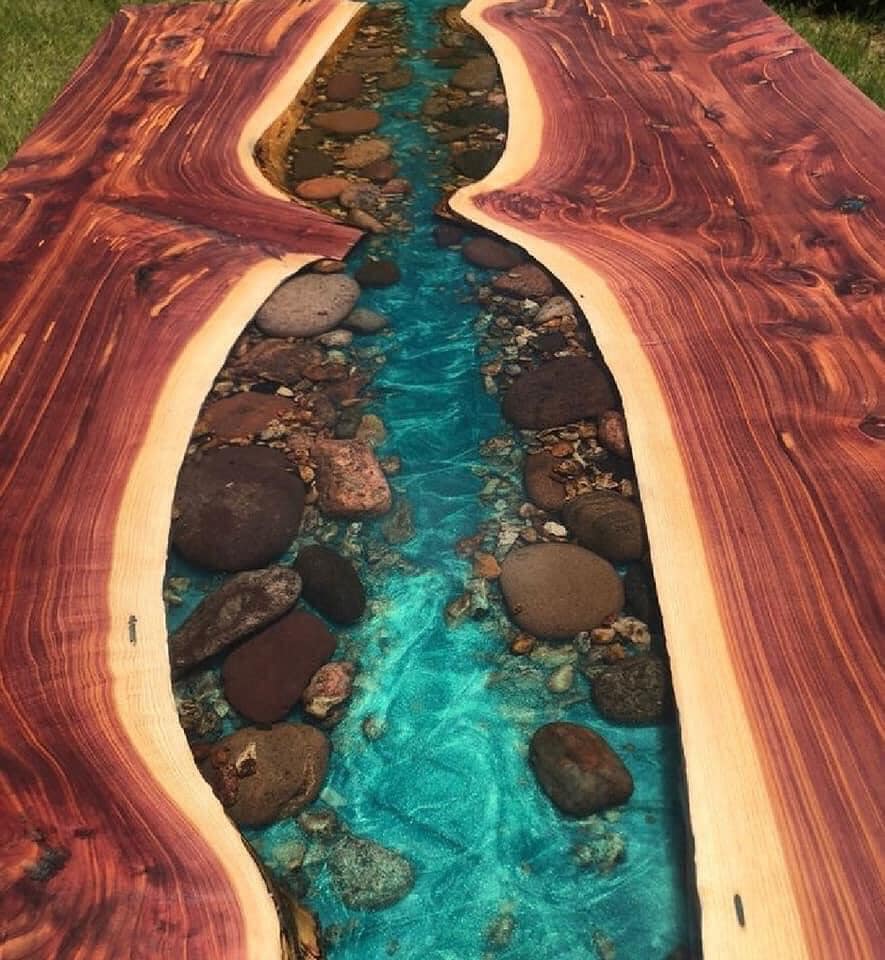
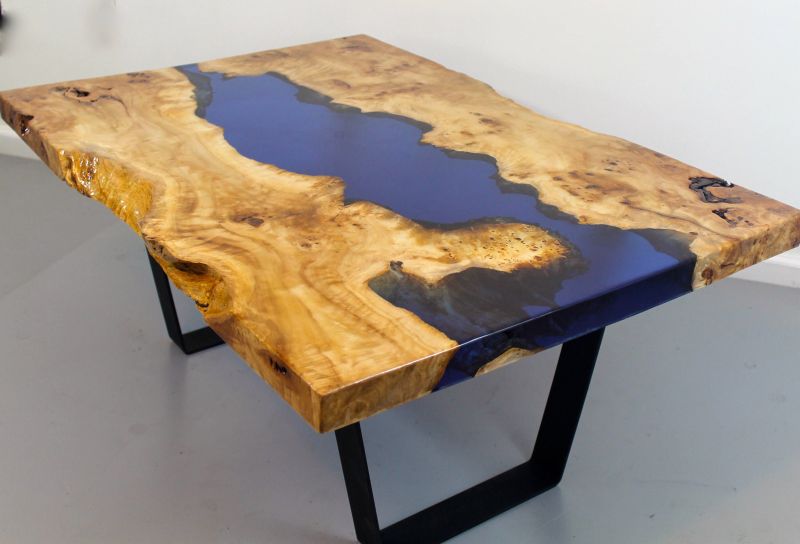
During the preparation of your epoxy resin mix, it is at this step that you will customize your future table. Go ahead with the color pigments you want, of course the most common color for a river table is blue. By tinting the mixture in the mass the pigments can be concentrated and translucent! Customization choices are unimaginable by integrating pebbles, shells or stones.
The sinking!
Your room or workshop must be tempered between 20°C and 25°C for the epoxy resin to develop properly! Epoxy resin is poured in several layers. You can go deep in one coat, the longer the indicated drying time. Follow the manufacturer’s instructions and technical data sheets. Failure to respect the coats will lead to cracks and bubbles when drying. You can extend the drying time by playing on the room temperature to obtain a thicker flow and you can do the opposite for thinner coats with sanding between each coat. In general, the drying time is 8 to 12 hours for thin coats and generally 3 to 7 days for an optimal hardening that must be waited until it dries according to the thickness or product chosen. During this time, you can build the legs of your table for example!
Wow to remove the casting and finishing frame!
You must carefully remove the frame panel by panel and remove the silicone after peeling the tray. Afterwards you can use the planer to flatten it. If there is an excess of epoxy sanded with a much higher grain than you would use for a normal wood project. Use a compressed air blower to remove all dust from the board. Choose an anti-UV varnish, as epoxy resin tends to be sensitive to sunlight. Polish, polish, choose the finish that suits you.
Epoxy et Cie Canada, your partner for your river table project!
At Epoxy et Cie Canada, we offer complete training on how to build a table with the best products on the market in Canada for woodworkers, cabinetmakers and craftsmen. In addition, we have a network of craftsmen, cabinetmakers who have followed the best training courses and who can design your personalized river table according to your criteria! In addition, discover our new translucent Chemtec Epoxy Coatings for river tables exclusive to Epoxy & Cie. Canada!
Here are some of our featured products:
-Chem 100 Clear
-Chemcraft ultra-clear 2 inch
-Chem-Thick 3 inch ultra-clear
-Poluerhetane
-Choice of opaque, metallic, translucent, glow in the dark tea colors nearly 100 choices
Pre-mixed epoxy: black, white, red, safety yellow, beige and much more!
Contact us so that your river table project can be completed as quickly as possible and in accordance with your expectations.
